Whew, what a week… had a few setbacks in the back department… physical therapy says one more week at home, officially making this a full month ordeal. In fact, today is the
one month mark of my sprain. The body is a slow healer when you want it to
go fast, right? Well, due to this one more week at home I have thrown myself
(not literally, I’m mostly confined to the couch and my craft table), into
gifts for upcoming birthdays, holidays, etc. I got myself all excited for these
projects, took a million photos, bladibla… and realized that if I posted
tutorials on any of them, the surprise of these gifts would be ruined. Hm.
So, to cap the week off, I’m going to write about fleece
blankets. I have made a slew of them for various people, gifts, myself over the
past week. I’m going to show you a few different ways to make fleece blankets,
but my tutorial will focus on the sewn version.

Fleece Blankets
What you will need:
- 2 yards each of two fleece fabrics (I like a big blanket, feel free to adjust to your preference)
- The usual suspects: scissors, sewing machine, thread
Step 1: Cut off the crappy edges (official term of course)
from both fabrics
Step 2: Line up the two fabrics, good sides together, and cut so that they are even

Step 3: Pin edges together all around blanket (remember to
keep those good sides together… you will see why in a few steps).

Step 4: Sew along entire edge of blanket with a half inch seam, but leave
approximately six inches at end open.

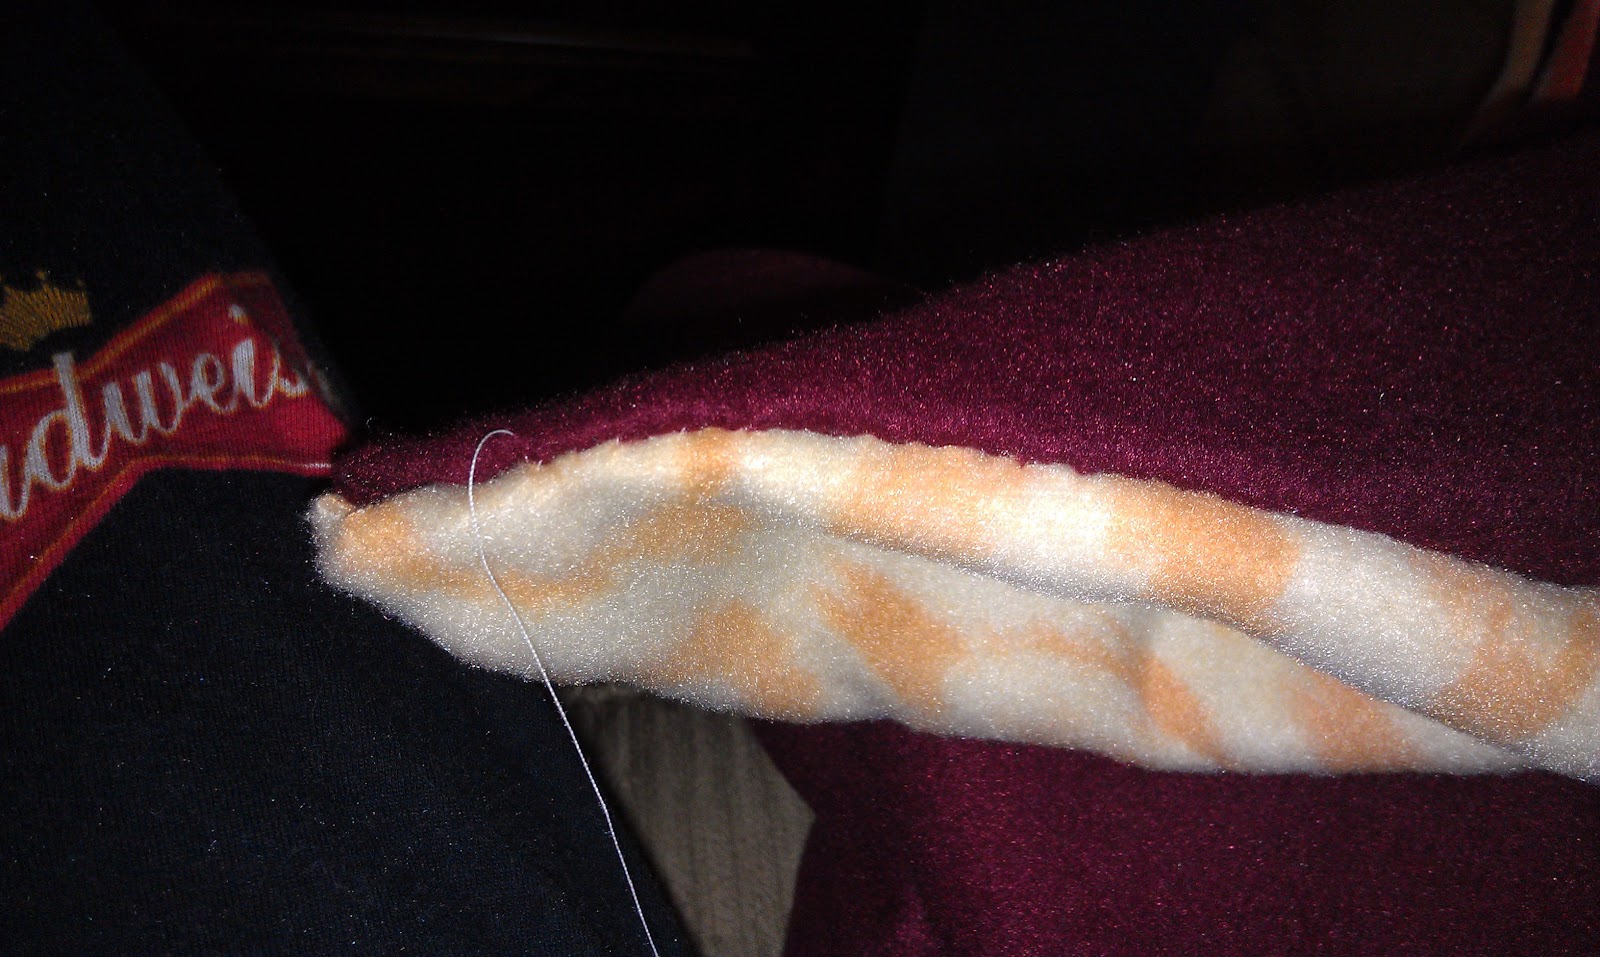
Step 5: Turn blanket right side out
Step 6: Blind stitch that six inch hole closed. I would show
you how to blind stitch, but I’m not even positive if I’m doing it right. Think
of it as a whip stitch with the whip on the inside J that’s the best description I
can think of. My apologies… google it.

Step 7: Set your sewing machine to the overlock stitch (also
known as the serger stitch) and sew another seam with a 1-2inch seam around the
blanket.


Badabing badaboom! A fleece blanket that looks professionally made. How easy was that? You know you want to jump on JoAnn's next fleece sale :)

Other Options: No Sew
Single knot: Cut strips along edge of blanket and finish with single knot

Double knot: Do same as above, but double knot instead.


Braided: Cut 2" strips along edge of blanket and within each strip, cut small hole. Thread each strip through hole of consecutive strip, following all around blanket. This is easiest with a crochet hook or opened paperclip. This is my favorite for a no-sew fleece, even if it takes a little longer... you don't feel any knots if you lie on the edge!

Happy Friday! If you have any questions or have any other styles for making fleece blankets, please share!!
Bada bing, Bada Boom!!! looks comfy!!!
ReplyDeleteLooks good. I would perhaps add a step... after you sew the initial seam (before turning right side out), cut across the corners to eliminate bulk.
ReplyDeleteThe blanket operates by applying pressure to the body that will help you relax, so that you may sleep faster, easier and longer of familycookware.page.tl.
ReplyDelete