Tuesday, February 26, 2013

Frame Jewelry Holder/ Display


I live in a fairly small apartment. I have to compromise sometimes when it comes to furniture and other things I want due to lack of space (I know I’m preaching to a choir of other twenty-somethings). Lately my jewelry “collections” has been starting to take over my bureau.  I have a small jewelry box, but I have a jewelry armoir at my parent’s house that I would love to try to stuff into this apartment. Alas, it’s not going to happen. So, I needed another way to store some of this jewelry without taking up much space.
      After some serious pinterest hunting, I came across a few pins that detailed using a frame backed with wood to display jewelry on hooks. I used this pin as my inspiration and went down to goodwill for some hunting. I didn’t find a great frame, but I did find a corkboard. Hmmmm.
This is what I did:


Frame Jewelry Holder / Display

What you will need:
  • Framed Corkboard or picture frame with wood backing (in hindsight I wish I had used the latter because the corkboard was fairly annoying to work with. BUT if you are like me and have no tools to cut wood, then stick with the corkboard)
  • Spray paint of desired color
  • Painters tape
  • ½ Inch Framing
  • Wire mesh with ¼ inch squares (found it in the fencing department at Home Depot
  • Wire cutters
  • ¾ inch screws
  • Screw hooks
  • Drill and Phillips head 
Step One: wipe down frame to get rid of dust and debris.


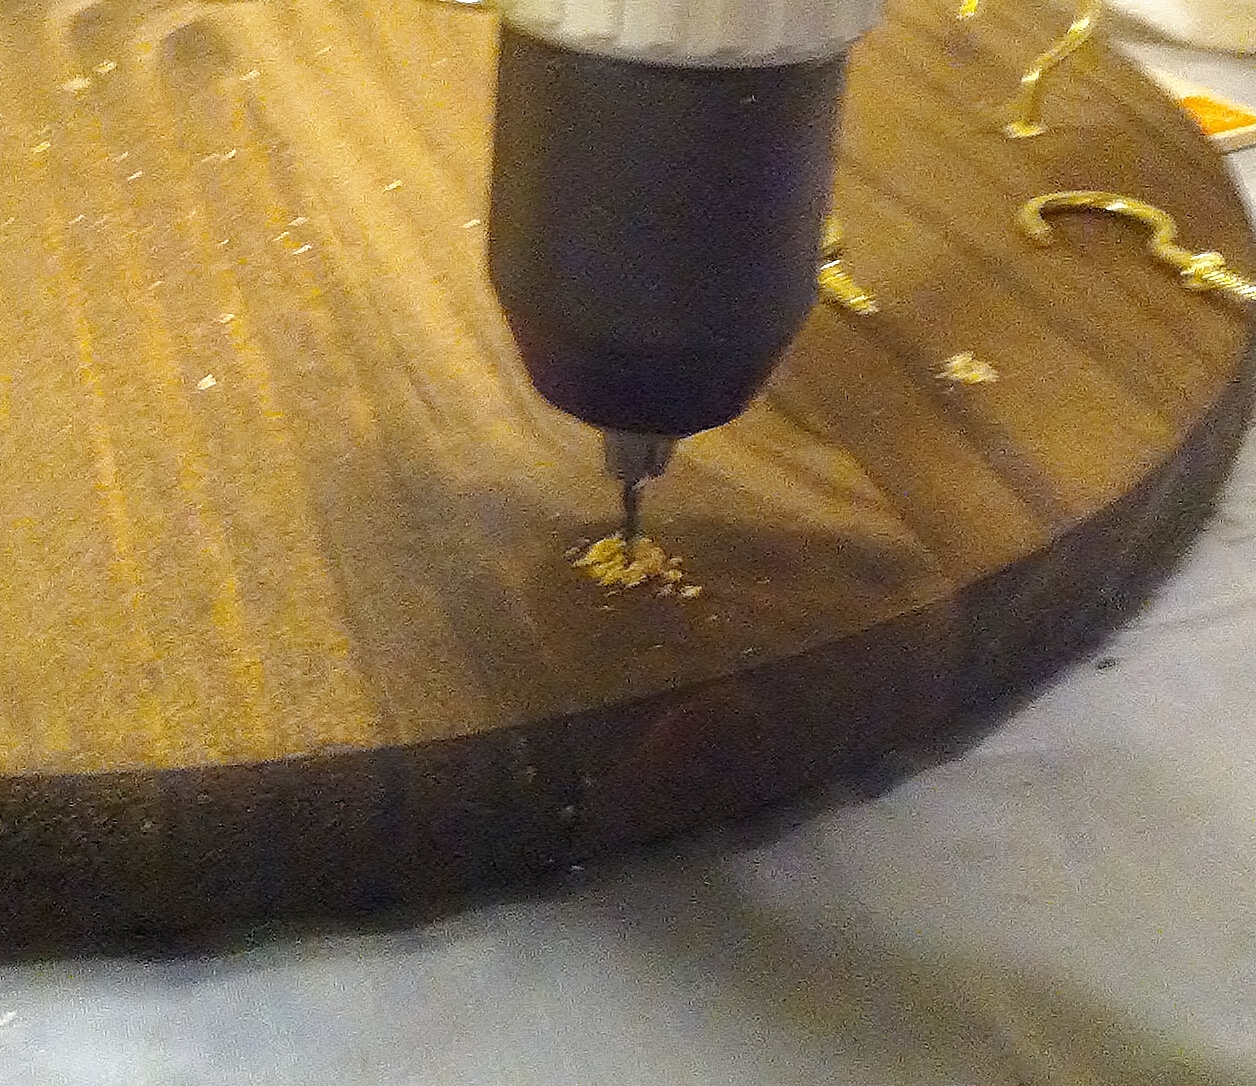
Step Two: Mark out where you want your hooks and screw them in – make sure you really screw them in there so they are sturdy.


Step Three: Tape up the frame (if you don’t want it painted) with painter’s tape. Spray paint the cork. It might need a few coats. Let dry.

Step Four: Leave the tape on. Cut your wire mesh to fit the width of the frame and desired length.

Step Five: Cut three pieces of framing to match length of wire mesh.

Step Six: Glue two pieces of framing to each inner edge of frame at top, one piece of framing between them. Screw wire mesh down on top of pieces of framing. I only screwed down the four corners. The middle piece of framing is primarily for support so the mesh doesn’t dip.

Step Seven: Spray paint wire mesh and framing. Let dry.


Step Eight: Remove painter’s tape and fill with jewelry!


I haven't hung it on the wall yet, I'm still trying to decide if I want to or not. I kind of like it just sitting there, haha. 
There are tons of unique DIY jewelry holders and displays on Pinterest. Have you found any other good ones? Please share!

Thanks for stopping by!
Cheers, 
Bridget XOXO

Monday, February 18, 2013

Race Bib & Medal Display


      Joe has 304687209384193750879350918491735 race bibs and he insists on keeping every single one (like his t-shirts that date back to 1986). For a while he pinned them to a cork board in our spare bedroom, but they were an unruly mess and started taking over the room. He also has numerous medals from races that have been hanging on the door handle to our spare room, jangling and banging every time the door opened. Needless to say, we both knew something had to be done: find a solution  or the race menagerie goes.
      In an effort to preserve his legacy, Joe decided to make a display system. As many runners who will read this know, this is a sensitive subject and I respect that. SO, I’m posting this as a way to save households from race bib disasters, as well as runners from losing their trophy collection. If you want to read more about Joe's running adventures, he blogs at InstinctRunning where he writes about and reviews races.
      We strolled around Home Depot looking for a few supplies that I needed for another project I was doing and came across these round wood “plates” that honestly resemble lazy Susan rounds. AHA! Joe grabbed two and we headed to the hook section, grabbing two different sizes, as well as some stencils for lettering.

Race Bib & Medal Display

What you will need:
  • Wood rounds (or other wooden plaque) ($4.88)
  • Screw hooks (2 Lg at $1.18each, pack of 25 small 1 1/2inch hooks at $4.46)
  • Stencils (2" set $2.98)
  • Paint (we used acrylic paint)
  • Stain of desired color (Dark Walnut $4.78)
  • Paint brushes (2 at $0.77)
  • Rag
  • Drill and drill bits
  • Drop cloth to protect surfaces
  • Hole Punch


This is what we started with:


Step One: Using a damp rag, wipe down wood plaque. This will open the wood grain to help absorb stain more evenly.

Step Two: Stain plaque to desired color with sponge brush, wiping with cloth after applying stain. **apply stain as instructed on back of tin**


Step Three: Let stain dry. Lay out stencils (we spelled RACES and OCR’S [Obstacle Course Races]) and paint with acrylic paint. You may need a few coats to make them bold.


Step Four: Mark where you want your hooks – Joe lined the bottom half edge of the plaque with small hooks to hand his medals from. Then he had two large hooks for the middle to hang his bibs on. This is how we layed it out:


Step Five: Using drill and drill bits, make holes where you want your hooks, then hand screw the hooks in.


Step Six: Hole punch your race bibs to fit onto center two hooks.


Step Seven: Oops, almost forgot... apply picture hanging fixture to back ( we used the small metal strip with "teeth". NOW you are done. Display that bad boy with pride :)


That's my rockstar... check out those medals!

Want other workout related projects?: Agility Ladder | Sandbells

Thanks for stopping by!
Cheers, Bridget
XOXO

Sunday, February 17, 2013

Gold Dot Mugs

 
       A couple of months ago I got my hands on a set of dishes at Homegoods for dirt cheap. I’ve been using the dishes for various crafts ever since… it’s like the dish set that keeps giving back. What is even better is that these dishes are plain white, so they’re a blank slate for anything I can come up with to deco the hell out of them. The dish set was so cheap because it was missing two mugs (big woop). The two mugs that were left have been sitting in my spare bedroom/craft room/junk room/dump room (you get the idea).
       On a recent trip to JoAnn’s I caved and bought a couple of metallic oil-based paint pens. I’ve used these pens in past projects (here) and (here). They work better than regular Sharpies because they STAY.
       Flowers courtesy of Joe for Valentine's Day :) Makes me feel like Spring isn't too far away.
 
Make sure your dishes are clean and dry, then go to town. Once painted, place in a cold oven and bake at 350 degrees for 30 minutes. Then leave dish in the oven until oven has cooled completely.  Putting the mugs in a cold oven will help prevent large temperature shifts and cracking/breaking.
When it’s this easy, I don’t know how I haven’t added a little gold to all of my dishes.


Thanks for stopping by! Let me know how your mugs turn out, I love getting pictures and link-backs - you inspire me!
Cheers, Bridge
XOXO
Updated 3/3/2014

Tuesday, February 12, 2013

Yoga Mat Strap


As my New Year resolution to get in shape continues, I have been using my yoga mat much more. I love yoga. It makes me feel relaxed, rejuvenated, and frankly I love the clothes. I’m just being honest. I’ve also started to notice the many accessories you can get – like awesome yoga mat bags and special mats, fancy blocks and of course the yoga pants. Last week I broke my yoga mat strap (a piece of string). I found some nice ones online but they are super expensive, so I made my own!


Yoga Mat Strap

What you will need:
  • ½ yard of fabric
  • interfacing
  • Velcro
  • The Usual Suspects: thread, sewing machine, iron

Step One: Cut your fabric.
  • 2 pieces 36" long x 3" wide - handle
  • 4 pieces 20" long x 4" wide - wraps
  • 2 piece interfacing or batting 18" x 3 1/2 " - wraps
  • *** measure the diameter of your yoga mat - it may be bigger or smaller than mine, but these measurements  should accomodate a variety of sizes


Step Two: Make the handle using the two longest strips of fabric.


Press long strip in half to make crease

Unfold and press each edge to middle crease

Repeat with second strip

Sandwich two strips and sew a seam on all edges


Step Three: Make the wraps.


Cut two pieces of Velcro, one small (2”) and one long (4”). Sew each onto two of the smaller pieces of fabric.


Take the two pieces of fabric and put together, right sides in with Velcro on opposing ends. Sew seam on three edges, leaving one end open. 

Turn right side out. Slide batting into pocket and sew end closed.


Press. Top stitch around all edges.
Repeat for second wrap.

Step Four:  Attach handle to wraps by sewing strap to underside of wraps


** Make sure you sew the handle to the underside of the straps - so the straps should have the long strip of velcro up, with handle sewn underneath.**

Done! Now get your stylish self some yoga classes so you can show this baby off!


Thanks for stopping by!
Comment are always appreciated and always read! If you have any questions, please don't hesitate to ask, this tutorial was a bit more challenging than some of my past.

Cheers, Bridget
XOXO