Joe has 304687209384193750879350918491735 race bibs and he
insists on keeping every single one (like his t-shirts that date back to 1986).
For a while he pinned them to a cork board in our spare bedroom, but they were
an unruly mess and started taking over the room. He also has numerous medals
from races that have been hanging on the door handle to our spare room,
jangling and banging every time the door opened. Needless to say, we both knew
something had to be done: find a solution or the race menagerie goes.
In an effort to preserve his legacy, Joe decided to make a
display system. As many runners who will read this know, this is a sensitive
subject and I respect that. SO, I’m posting this as a way to save households
from race bib disasters, as well as runners from losing their trophy
collection. If you want to read more about Joe's running adventures, he blogs at InstinctRunning where he writes about and reviews races.
We strolled around Home Depot looking for a few supplies
that I needed for another project I was doing and came across these round wood “plates”
that honestly resemble lazy Susan rounds. AHA! Joe grabbed two and we headed to
the hook section, grabbing two different sizes, as well as some stencils for
lettering.

What you will need:
- Wood rounds (or other wooden plaque) ($4.88)
- Screw hooks (2 Lg at $1.18each, pack of 25 small 1 1/2inch hooks at $4.46)
- Stencils (2" set $2.98)
- Paint (we used acrylic paint)
- Stain of desired color (Dark Walnut $4.78)
- Paint brushes (2 at $0.77)
- Rag
- Drill and drill bits
- Drop cloth to protect surfaces
- Hole Punch
This is what we started with:

Step One: Using a damp rag, wipe down wood plaque. This will
open the wood grain to help absorb stain more evenly.
Step Two: Stain plaque to desired color with sponge brush, wiping with cloth after applying stain. **apply stain as instructed on back of tin**

Step Three: Let stain dry. Lay out stencils (we spelled RACES and OCR’S [Obstacle Course Races]) and paint with acrylic paint. You may need a few coats to make them bold.


Step Four: Mark where you want your hooks – Joe lined the bottom half edge of
the plaque with small hooks to hand his medals from. Then he had two large
hooks for the middle to hang his bibs on. This is how we layed it out:
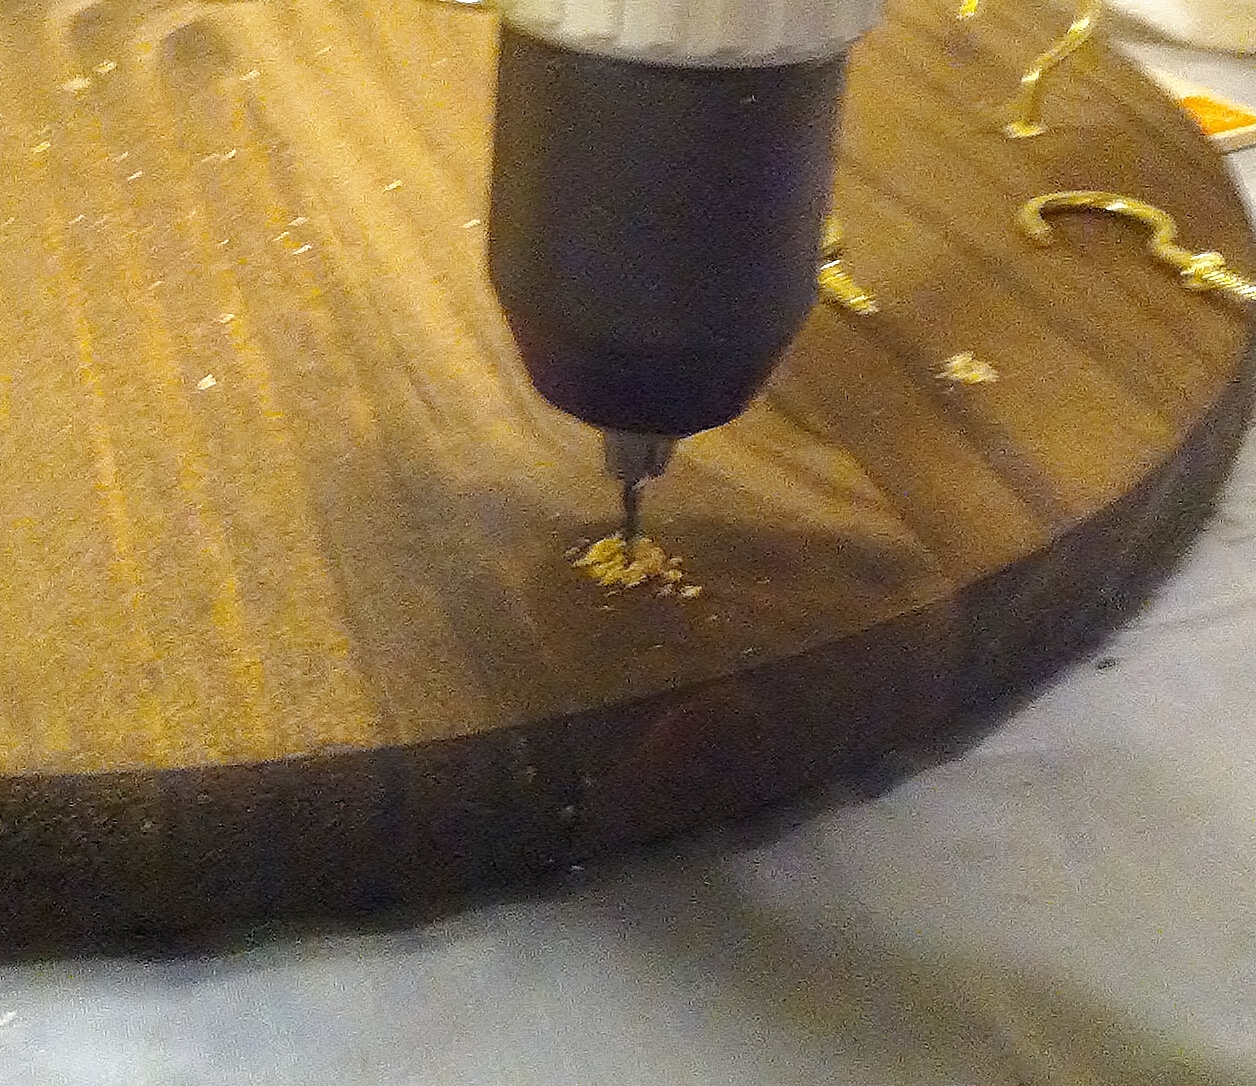
Step Five: Using drill and drill bits, make holes where you
want your hooks, then hand screw the hooks in.


Step Six: Hole punch your race bibs to fit onto center two hooks.


Step Seven: Oops, almost forgot... apply picture hanging fixture to back ( we used the small metal strip with "teeth". NOW you are done. Display that bad boy with pride :)

That's my rockstar... check out those medals!
Want other workout related projects?: Agility Ladder | Sandbells
Thanks for stopping by!
Cheers, Bridget
XOXO
This is soooo awesome!! PINNED! My husband is newer running and I've been wanting to make him something to hang his bibs & metals on. He is doing 2 halfs in April...so I need to get on it! Thanks for linking up to my Pin Me Party!
ReplyDeleteVery cool!
ReplyDeleteI have a weekend Link party if you'd care to join:
http://www.bobijensen.com