Tuesday, October 2, 2012

Monogrammed Mugs


My cousin Kevin and his fiancĂ© Christina are getting married in late October and I wanted to give them something special, but something that they might actually use. I found a pin on Pinterest a couple weeks ago that said you can decorate regular mugs with permanent marker and bake them to make them, err, extra permanent. So, I tried it out. I got a few cute mugs at Homegoods and got to drawing. I decided to monogram the mugs with the couples’ new last name – Francisco. Then I wrote their wedding date on the handle! I was shocked at how nice they turned out.


Monogrammed Mugs

What you need:
Mugs
Permanent marker (I used black, but I’m sure any color is fine)

Ready?
Step One: Wash and dry mugs.
Step Two: Draw your design/ monogram
Step Three: Bake in oven at 350 F for 30 minutes


Tip: practice those letters first. I had a few teeth-clenching moments as I drew out these monograms. I had to tell myself to put the marker down and stop fussing with it.


Can’t get easier than that! Another Pinterest success!

Has anyone else tried this? I tested them by running them through the dishwasher twice and they held up, but anyone have experience with whether or not it will budge over time? Please comment!


Congratulations to Christina and Kevin and your beautiful family!!


Monday, October 1, 2012

Refurbished File Cabinet


Last weekend my Dad picked up a free file cabinet from the local dump. After calling to see if we might want it, he brought it home. I immediately started brewing with ideas. We are in desperate need of additional storage for our infrequently used junk… and my crafting supplies. Once I got it home it sat in my truck for a week. Finally, this weekend we got it out of the truck and up into the apartment and cleaned it up a bit. I decided to paint it with chalkboard paint and use it in our spare bedroom… this way we can hide AND label our junk drawers… Brilliant! Super easy and really fun project for Joe and I this weekend.
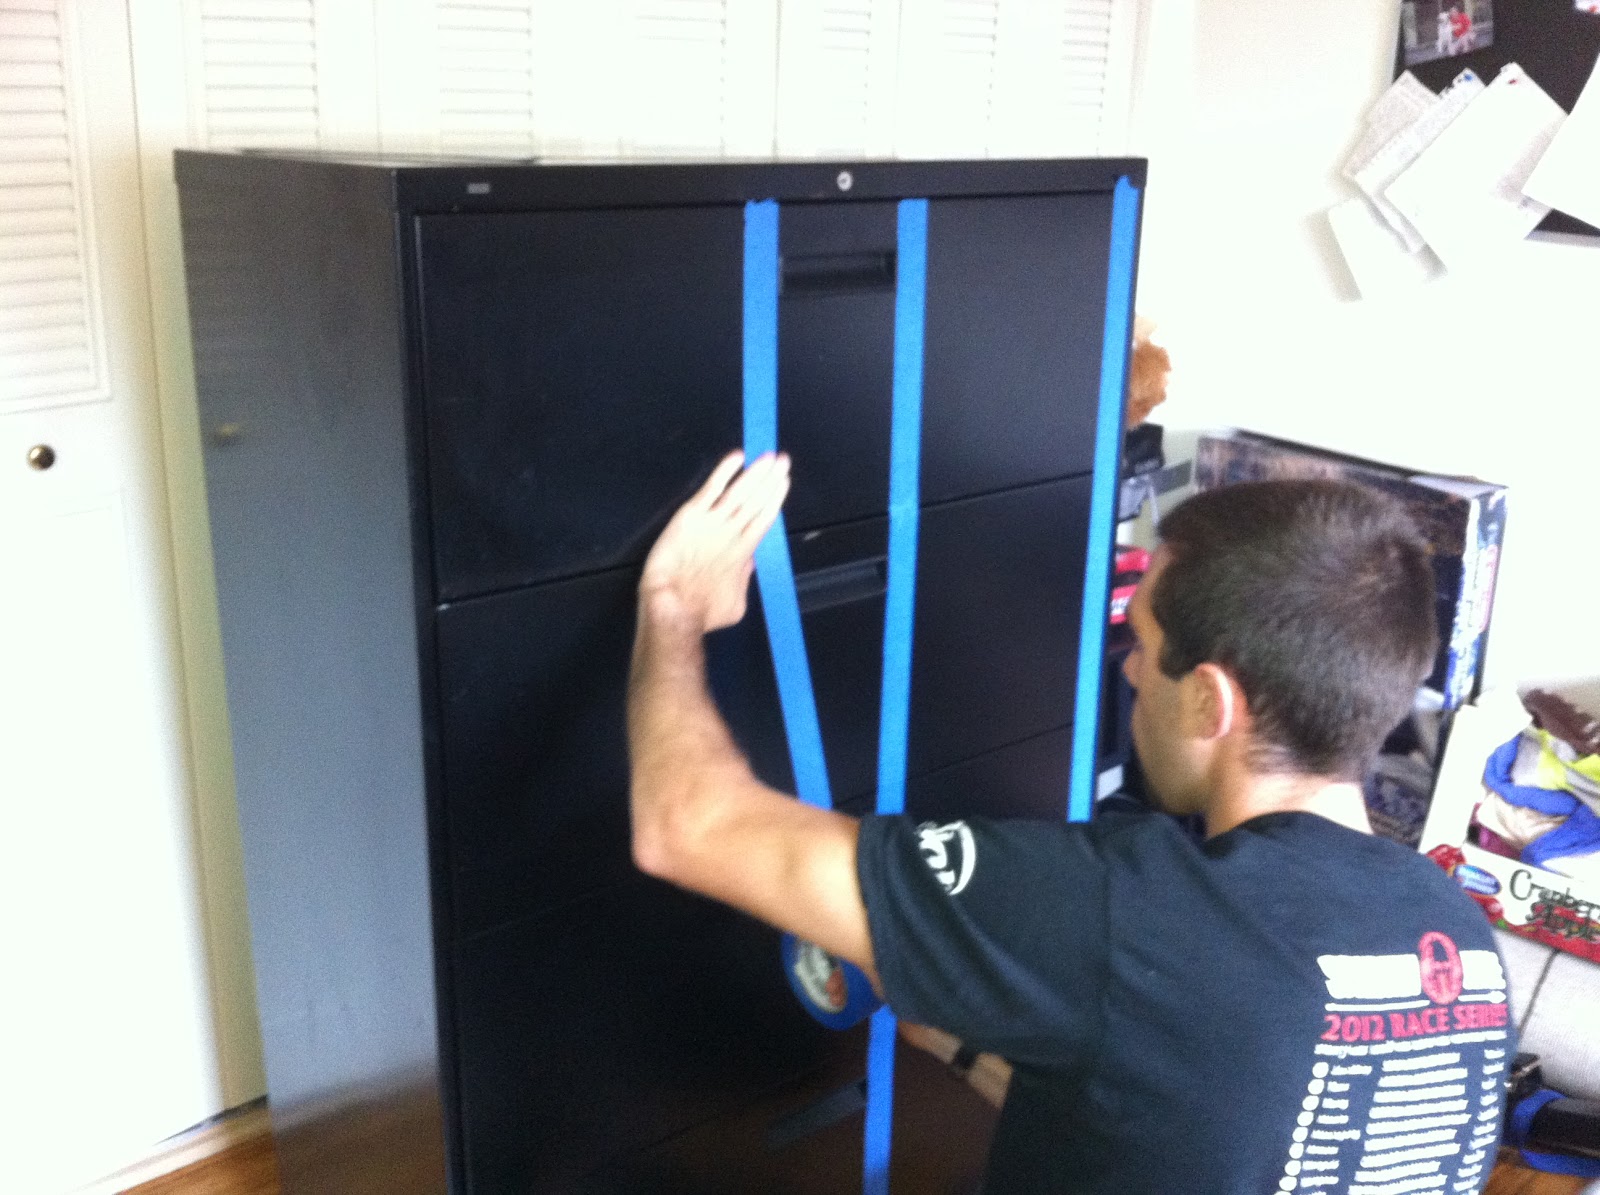
We used painters tape to block out a border, sanded the squares a little bit and started painting!

We Used:
$10 chalkboard paint
$2 paint roller and tray
Leftover sandpaper from an old project
Painters tape leftover from an old project

After a serious cleaning and removing some stickers


Joe loved the tape


All taped up and ready to go

Sanding

Love a man with a paint roller ;)
We were originally gonna paint the middle squares too, but changed our minds.

 We did three coats of the paint per the box instructions. Any oops’ that you see are probably from me… I got a bit excited here and there with the paint roller.


Taking the tape off was the BEST PART. Neither of us were willing to give up taking tape off to take pictures - so we shared and took an after picture instead. haha


Not too shabby!

Now I kinda wanna paint the rest of it… hmm... maybe blue or red or some other fun color! Joe would kill me. I think we’ll stick to the chalkboard paint for now.

Thanks for stopping by!